Delivery Configuration
Delivery Configuration
Once your Xend account is created, you can now link it to your TackThis account. Click on Delivery from your admin dashboard and under the Xend delivery option, click Configure.

The page consists of three sections Basic Information, Payment Lock Settings and Tax Information. Click on the tabs to find out more about each segment.
Basic Information
Under Basic Information, you will find Packaging Type. There are two packaging types you can choose from:
- Own Packaging refers to items placed inside any box, pouch, or any other type of packaging not from Xend.
- UNLI Weight Pouch is Xend’s volume-based packaging system. This means you don’t need to worry about the weight of your products, as long as they can fit into the pouch provided. When you select UNLI Weight Pouch as your packaging type, a new Packaging Settings field will appear.

Packaging Settings
UNLI Weight Pouches are self-sealing and made of environmentally friendly biodegradable plastic. When you click on the green Product Packaging settings button, you’ll see Default Pouch Size, which allows you to choose your default pouch size from two available options. Large Pouches are are 9″ x 14″ while XL Pouches are 12″ x 18″. Pouches are available to merchants for free upon request from Xend.
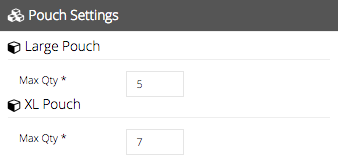
At Pouch Settings, you can configure the maximum number of items you wish to put into the pouch. The system will automatically help you maximise the use of the pouches (assign the maximum possible number of products into the pouches) when your customer checks out.
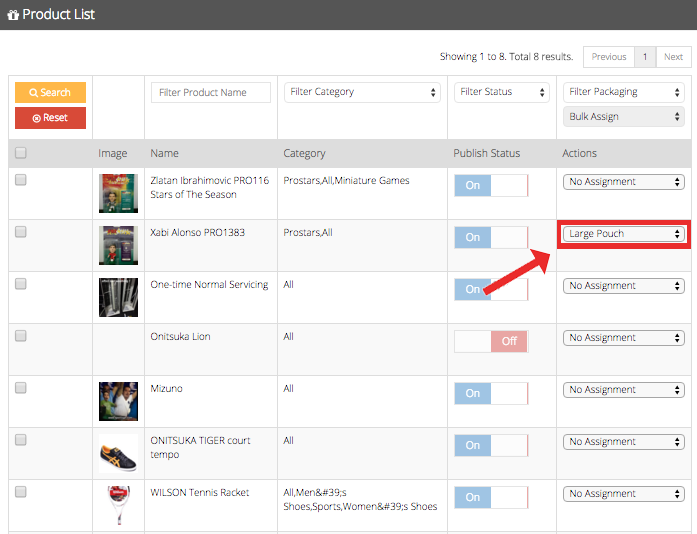
At Product List, you can assign products to a specific pouch size. In the example below, the Xabi Alonso PRO1383 product has been assigned to the Large Pouch. Products that have No Assignment will automatically be placed into your default pouch size upon checkout.
This means that if you’ve set your default size to the XL Pouch, products with No Assignment will be placed into XL Pouches upon customer checkout and only the Xabi Alonso PRO1383 product will be placed in a Large Pouch. As UNLIPAK is are volume-based packaging system, Xend will only charge you for the size and number of pouches used, not the weight of the pouches. Learn more about calculating UNLIPAK shipping charges here.
Save all your changes before you head back to the main delivery configuration page.
Collection Address
Once you have finished configuring your product packaging, your next step is to sync your Xend account to TackThis. You can do so at the Collection Address field by clicking on the blue Connect to myXend button.

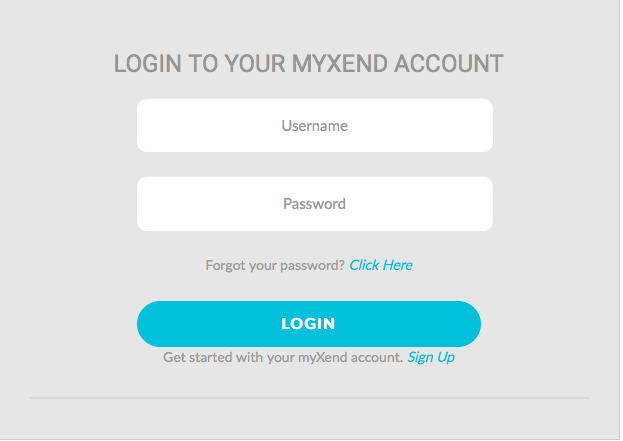
Clicking on the button will lead you to myXend’s Login page. Simply log in using your username and password to connect Xend to your TackThis shop.
Once done, you can now set collection addresses in your TackThis account. You may add in multiple collection addresses in your Xend account and then sync it to TackThis by clicking on Sync Collection Address. They will appear in the drop down menu as collection addresses that you can choose from. In this example, the collection address is the RCBC Building. Thus, when you schedule a pickup with Xend, their couriers will go to the RCBC Building to collect your packages for delivery. You can stop syncing your accounts by clicking Unlink myXend Account at any time.

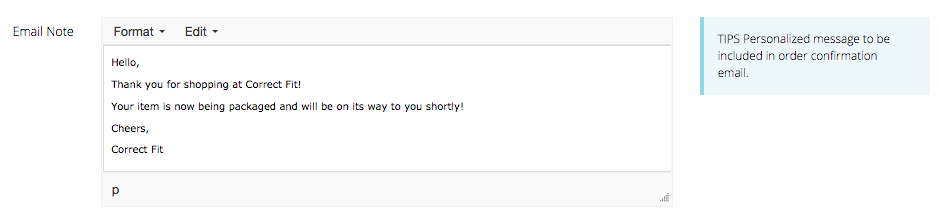
Next, you can move on to customising your confirmation email. This email is sent out to your customers when they successfully complete a purchase from your store and choose Xend as their delivery option.
Shipping Rate
At the bottom of the Basic Information segment, you can find out the latest shipping rates Xend offers on their website.
![]()
Xend Badge
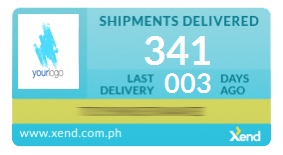
You can also choose to activate or deactivate your Xend Badge. Xend badges are digital counters displayed on your shopfront to inform customers of the number of successful deliveries completed with Xend, and when the last delivery was fulfilled.
Here is an example of how a Xend badge looks like:
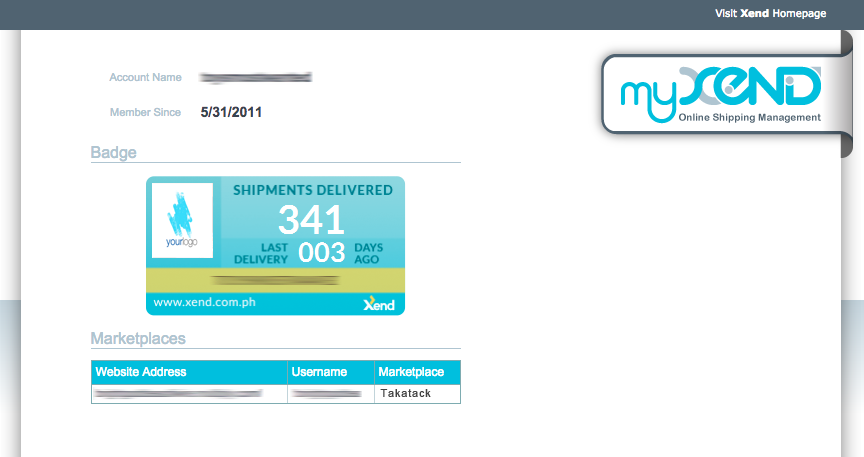
 When you or your customers click on the badge, you will be redirected to your myXend page that provides more detail on you as a merchant, and the successful shipments that have been completed with Xend delivery.
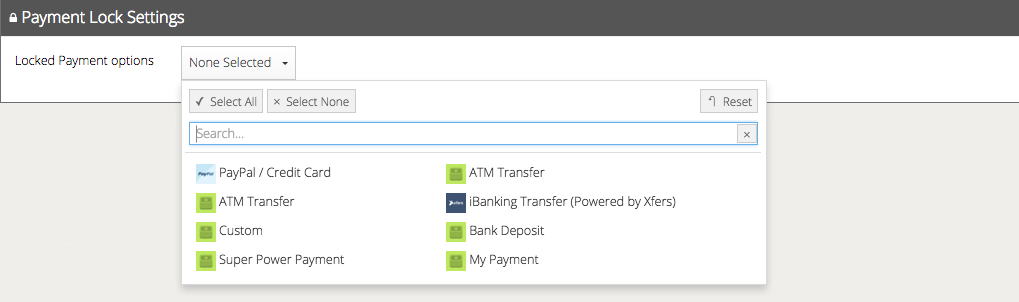
Payment Lock Settings
At Payment Lock Settings, you can select specific modes of payment such as Paypal, Credit Cards, Bank Transfers or other custom modes of payment (e.g.: Cash-on-Delivery). As such, by specifying Locked Payment options, you are effectively restricting your customers to certain modes of payment when they choose Xend delivery.
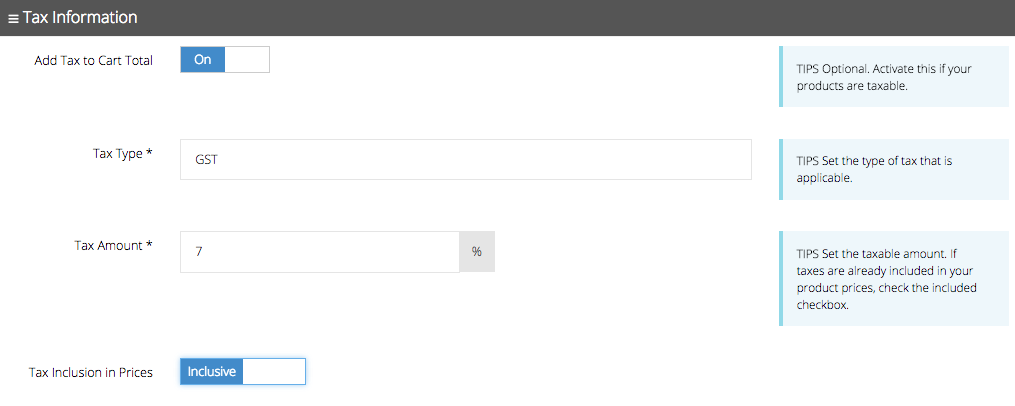
Tax Information
In Tax Information, you can add in various types of taxes that are applicable to your products and/or services. For instance, you may add in Goods and Services Tax (GST) to your products and indicate the tax to be included or excluded (Inclusive or Exclusive) on the prices displayed in your shopfront.