Paypal
PayPal Basic
Paypal Basic is for individuals who run a shop online. Their personal information will be used for transactions and payments. Sign up for your Paypal account here.
Click on Payments from your admin dashboard.
- Under PayPal, click Configure.

- Under Currency Information, select the currency you wish to accept for your orders. Hold Ctrl to select multiple acceptance currencies.
 Customers can change the currency they want for product display and checkout at the top right corner. The settings of Display Currencies are explained here. Shoppers can check out using any of the currencies that have been selected as Acceptance Currency. If the currency is not selected as Acceptance Currency but is in the list of Display Currencies, the checkout will display the product in the default currency. If a currency is selected as Acceptance Currency but is not in the list of Display Currencies, the customers will not be able to select the currency they want and check out their order.
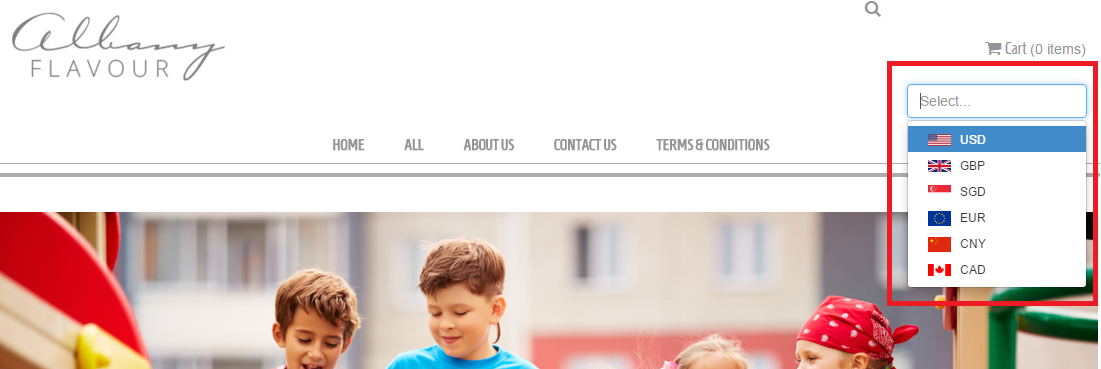
- Under PayPal Basic Settings, key in your email and click Save

PayPal Business
Paypal Business is highly recommended for merchants who operate under a company or a group name. It offers additional features such as allowing up to 200 employees limited access to your account and customer service email alias for customer issues to be routed for faster follow-ups. Additionally, when customers check out and choose PayPal as their payment method of choice, instead of seeing your individual PayPal email address, it will be displayed as your company name registered with PayPal Business instead, providing credibility to your store.
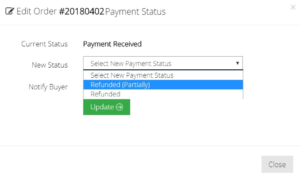
Paypal Business saves you a lot of time and trouble in case of a refund. Without Paypal Business, you will have to log on to their Paypal account to refund the money to the customer and manually update the status on the Dashboard to keep track of the payments. On the other hand, with Paypal Business, the refund will be processed automatically when you change the status of the order to Refunded on the dashboard under Orders.

To enable the PayPal payment option in your TackThis! Online store, you would first need to set up a PayPal Business Account. And once you have the PayPal Business Account ready, follow the steps below:
- Within your TackThis! Dashboard, select the “Payment” tab and click on the “Configure” button under PayPal

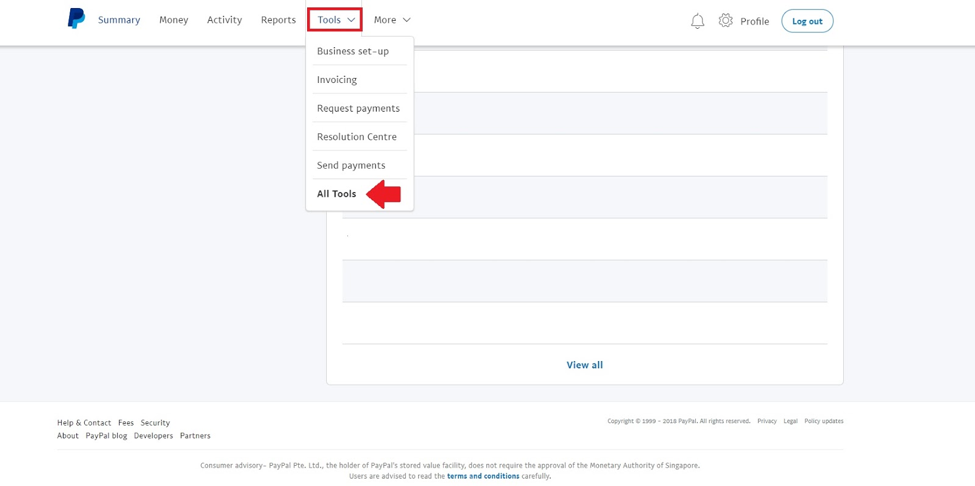
- To configure your PayPal Business account, you will need to enter your PayPal API Username, Password, and Signature. To do so, log on to your PayPal Business account and select on the “Tools” tab on the top of the page, followed by “All Tools” (as shown below)
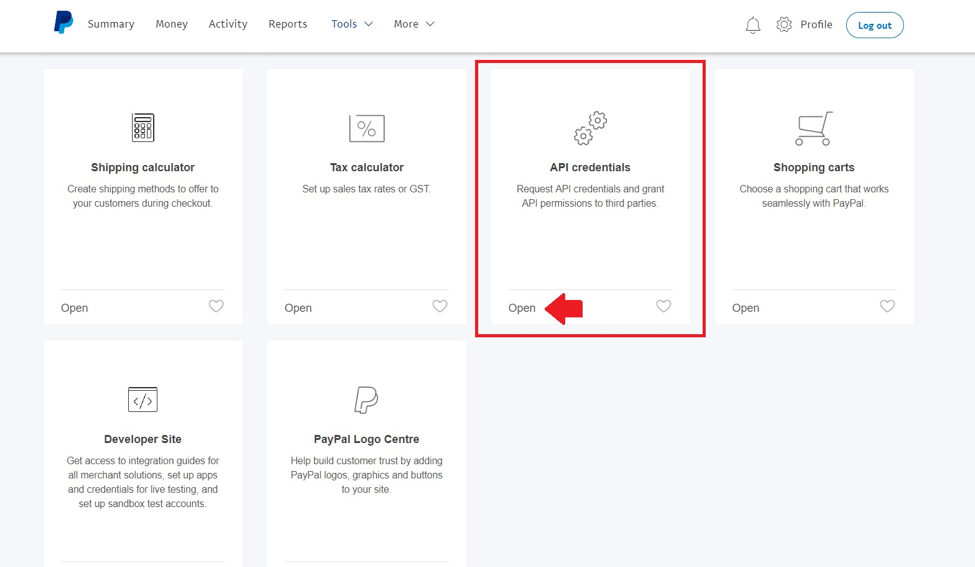
- Under All Tools, select the “API Credential” Box
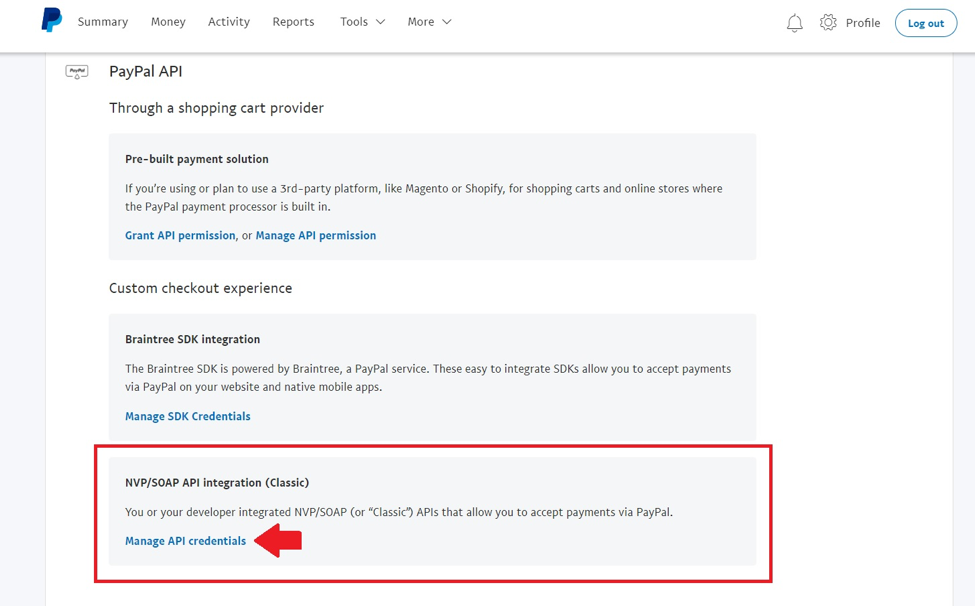
- Once you have clicked on the API Credential box, click on “Manage API Credentials” from the list
- Your API details will be shown on this page
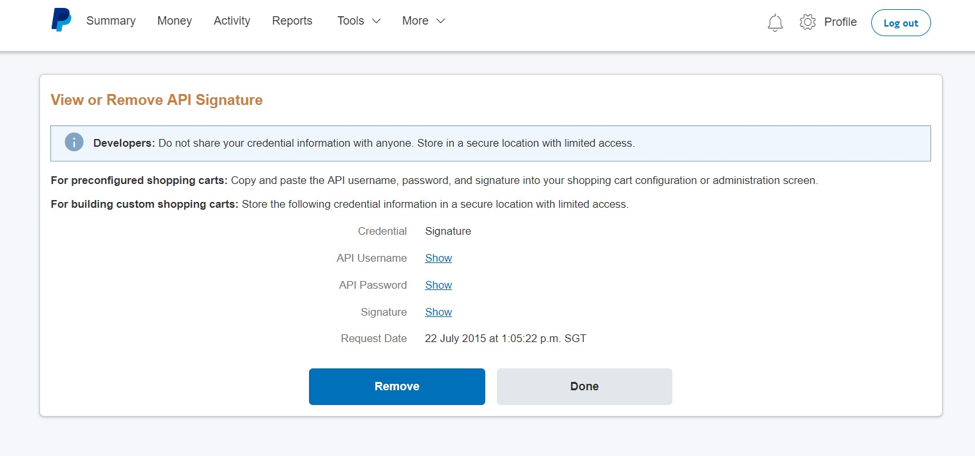
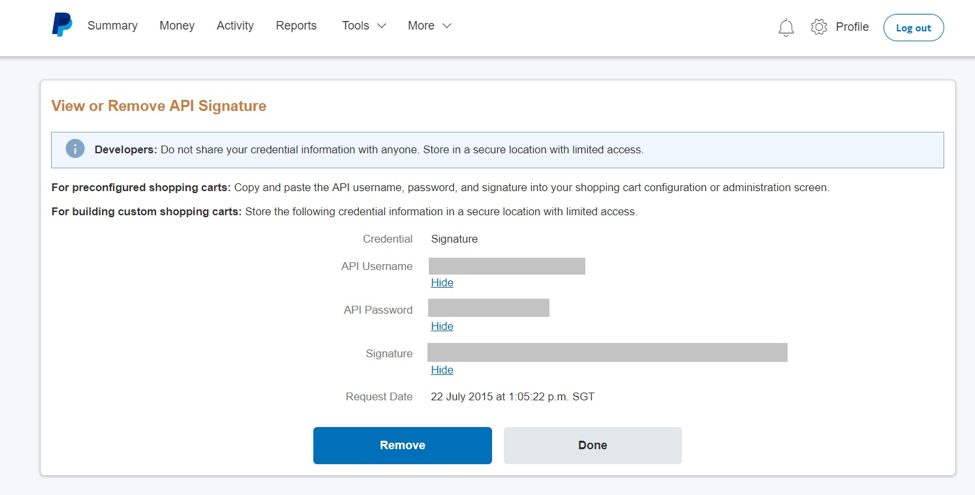
- Click on “Show” to reveal your API details
- Proceed back to your TackThis Dashboard and configure your API Signature to your account for PayPal Business.
- Enter a personalized Email Note that you wish to convey to your customers. This email note will appear in your customer’s order confirmation email.\
- Click Save.
- Click ON to activate PayPal Business.
To refund via Paypal Basic, you have to log into your Paypal account. Click the Issue Refund button next to the transaction to refund the amount to the customer.

After you have synced your PayPal Business Account to TackThis, you can perform refunds for an order directly on your TackThis Dashboard.
Click on Manage Orders > Shop Orders from your admin dashboard.
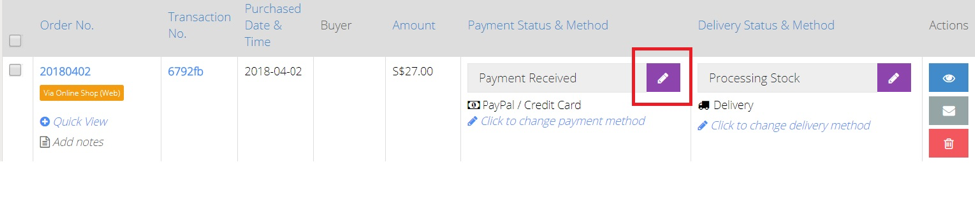
- Click the pencil button on the specific order that you need to perform the refund on.
- Under the New Status, choose between Full or Partial refund.