Add Category
Add New Category
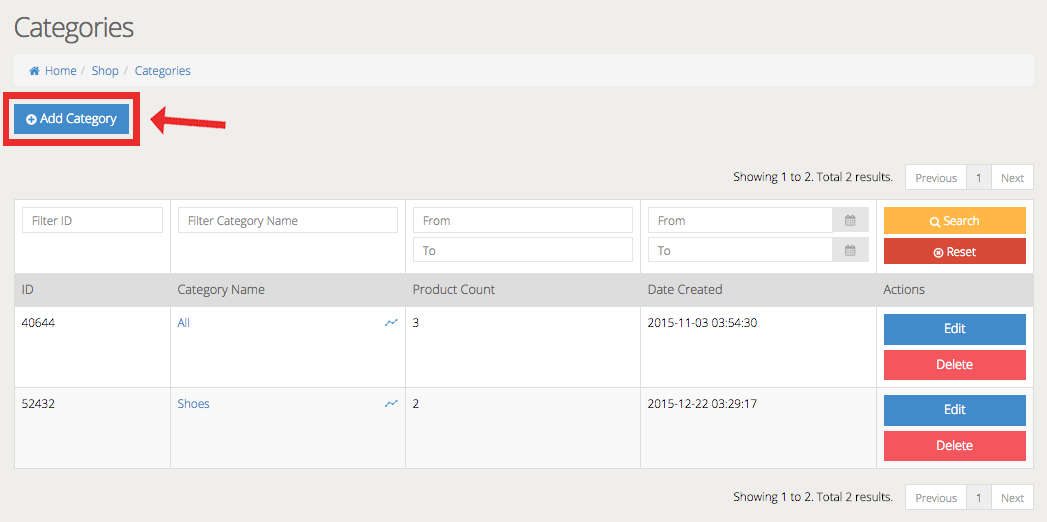
To add a new product category, click on the blue Add Category button found at the top left corner of the Product Categories landing page.
You will then be asked to fill in the segments on Basic Information, Category SEO Settings and Products Tagged for this category. Click on the tabs below to learn more about each segment.
Basic Information
In Basic Information, you are required to fill in the following fields.

Category Name is the name of the product category. For example the new category name that you wish to add is called “Flat Sandals”.
Category SEF or Category Search-Engine-Friendly is the keyword of your category. This field is automatically filled in for you by the system when you type in the name of your category. You can manually edit this field if you wish. Remember to include dashes (-) between words.
SEF terms will allow search engines to better capture and recognize your site URL when customers search for a specific keyword that is related to your category.
Thus, when you create “Flat Sandals” as a category, the Category SEF is automatically set as “flat-sandals”. As such, your category URL will appear as: www.yourdomain.com/flat-sandals
Default Product Arrangement lets you decide how you want your products to be displayed within each category.
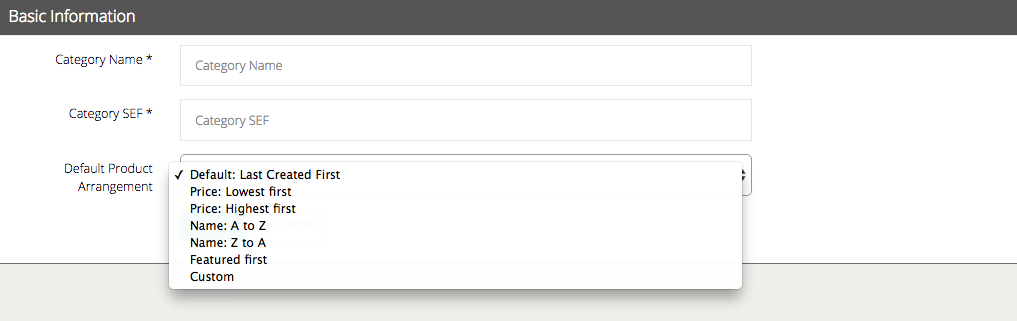
You have the option to choose from 6 types of product arrangements from the drop down menu:
- Price: Lowest first arranges your products from the cheapest to the most expensive.
- Price: Highest first arranges your products from the most expensive to the cheapest.
- Name: A to Z arranges your products in alphabetical order.
- Name: Z to A arranges your products in reverse alphabetical order.
- Featured first arranges products with special labels first. Learn more about Featured Labels in Add a Product.
Once you have selected the Default Product Arrangement, all the products that are in this category will be arranged in this format in future. Click the green Save button when you’re done.
Category Image allows you to use a particular image to represent the products in that category. For . Click on the blue Set Image button to upload a picture from your TackThis Image Library, computer or from an alternate source such as Facebook, Instagram or Dropbox.

Insert Category Page in Menu
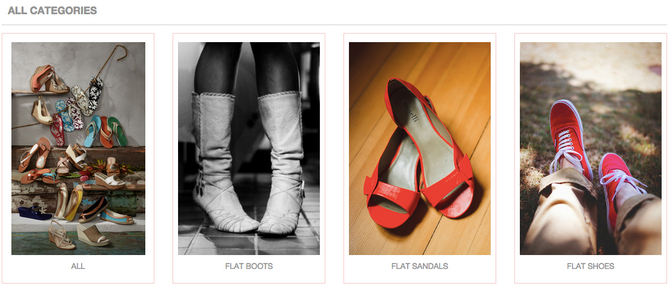
Uploading category images will allow you to display all your product categories in images for your store’s layout (other than having it as text on the navigational menu). Note that for this to be possible, you need to have category images uploaded for all your categories.
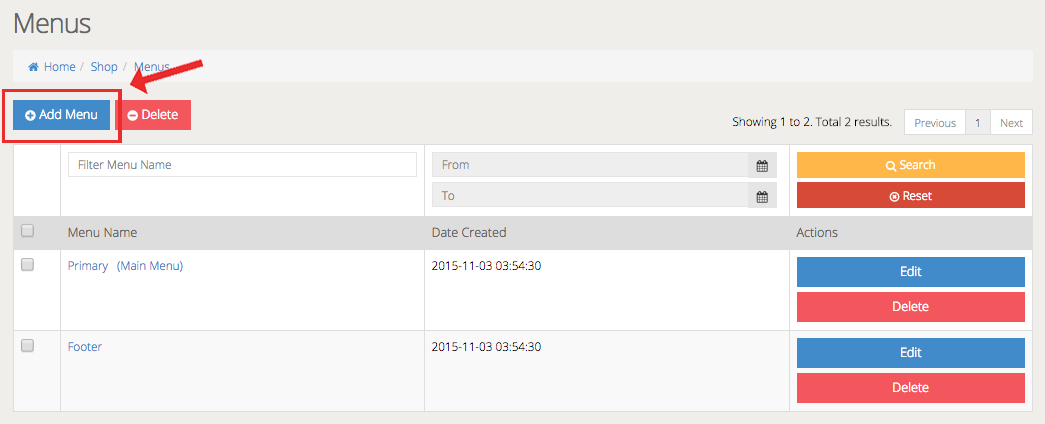
To insert a category page onto your shop front, you need to add in a new menu. Click on the Add Menu button in the My Shop Menus page.
Then, look for the Link panel at the bottom left of the settings page you will be directed to.
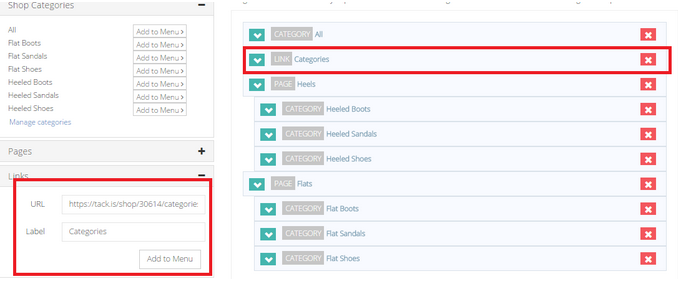
In the URL field, you may insert this link: www.yourshopdomain/categories
Under the Label field, type in Categories and then click Add to Menu in your navigation menu under Menus & Pages settings. Learn more about Menus & Pages.
You will now see the Categories appear in the navigational menu. Your customers can now view all your product categories in images. When customers click on any category, they will be able to find all the products that belong to that particular category.
Category SEO Settings

You can key in or edit your store’s meta description and keywords for your online shop to aid the crawling of your shop information on search engines.
Click here to learn more about SEO Settings
Add Products to Category
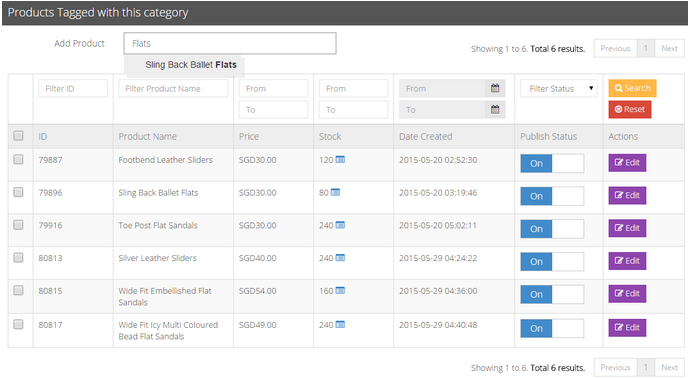
You can also add more products to a category here by keying in the product name.
Likewise, to remove a product from the category, you can either delete the category tags from products page, or remove it from the category page.
Next, to insert and arrange the newly added categories on the shop menu, you will have to configure it at the Menus page under Themes and Layouts. Find out how to create and arrange your shop menu.