Add a Product
Add a Product
To add a new product:
- Click Products from your admin dashboard,
- Under Products, click Product List,
- Once you’ve entered the Product List page, click Add Product at the top left corner of the page.
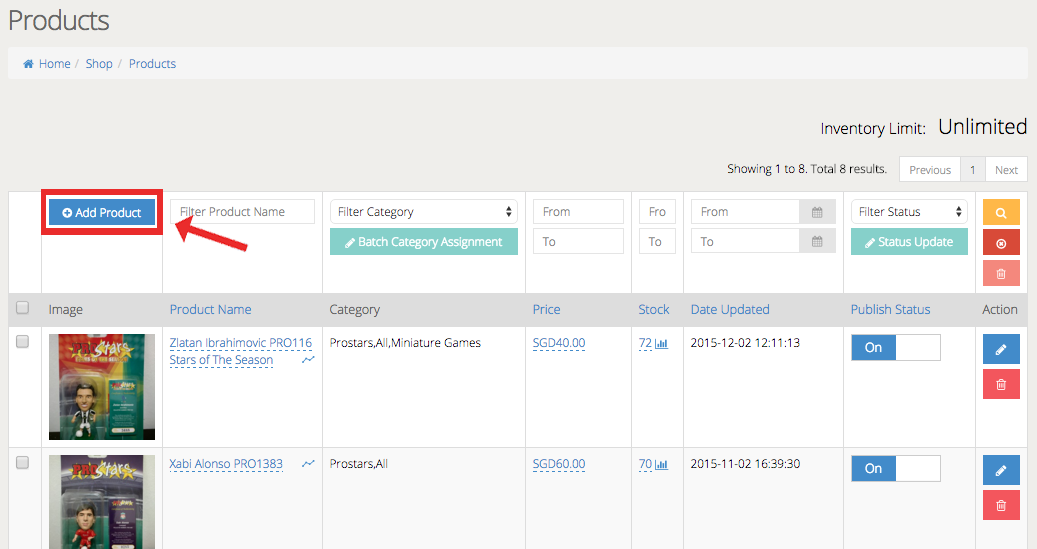
Clicking on the button will bring you to the Add New Product page. This page has five sections: Basic Information, Product Images, Product Attributes, Product SEO Settings and Publish Settings. You will have to fill in each of the relevant fields for Basic Information and save it first before the next section will appear for editing.
Click on the tabs below to learn more about each section.
Basic Information
In Basic Information, you can key in your product details. You have to complete and save the relevant fields before you can proceed to edit the following sections.
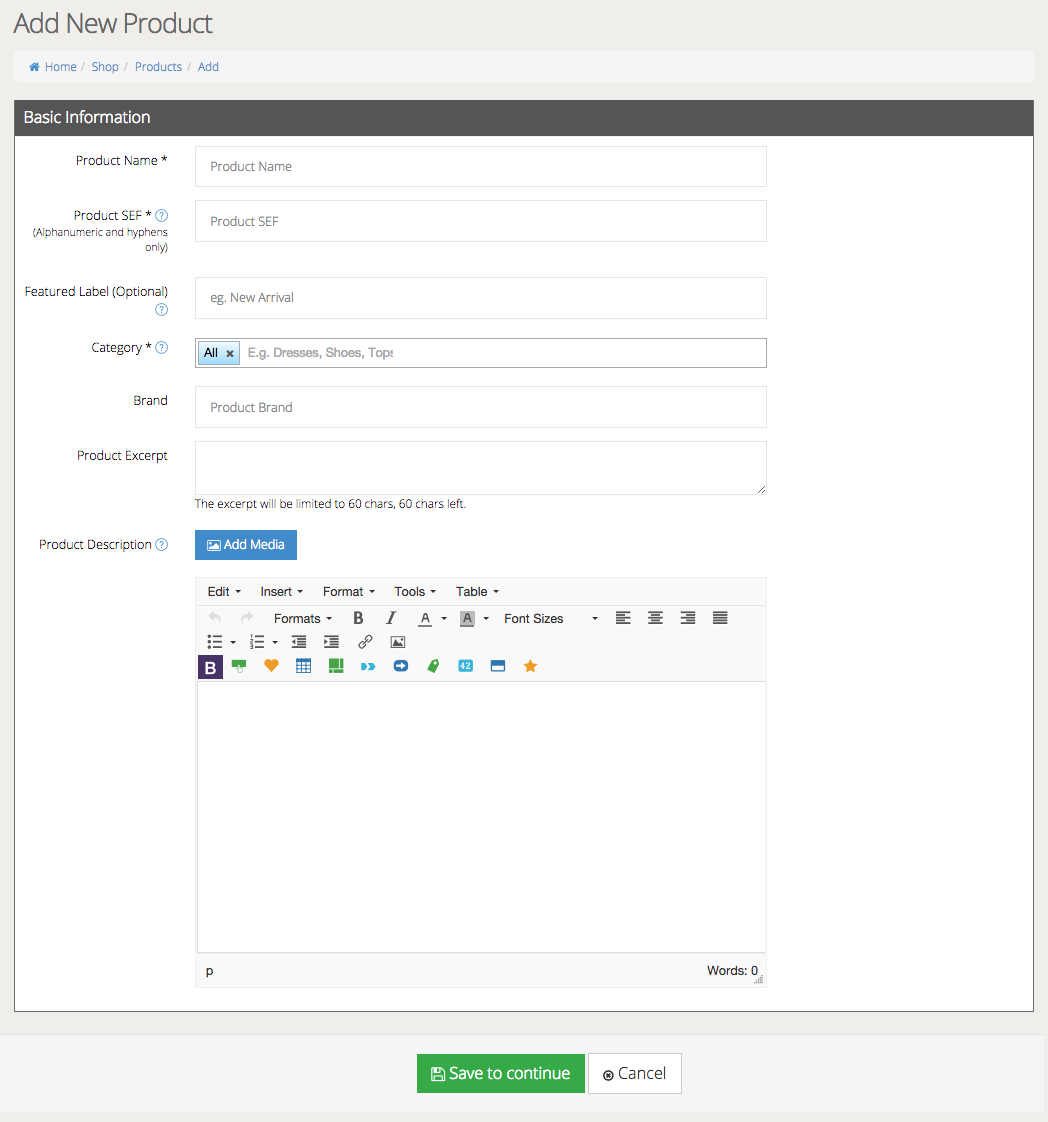
Product Name refers to what you wish to call your product.
Product SEF refers to Search Engine Friendly terms that will allow customers to easily search for your product. For instance, if your product name is called Soccer Figurine Limited Edition, you can type in “soccer-figurine-limited-edition” to help your customers find the product. You may only use numbers (0 to 9) and alphabets (A to Z) in this field. Use hyphens to separate words.
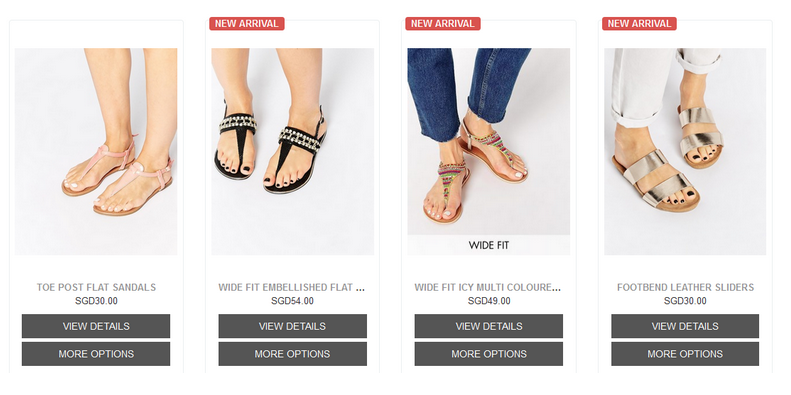
Featured Label allows you to highlight your product to your customers. You can place labels such as “New Arrival” or “Popular” and they will typically appear on the top left corner of the product in your shopfront.
Category allows you to categorise and filter your products. This means that you can search for your products easily by selecting a specific category for it. Your customers can also search for products by typing in key category search terms such as “Shoes”, “Dresses”, “Skirts”, etc.
Brand allows you to specify individual product manufacturers. For instance, you may be a seller of shoes from various sportswear brands. This field comes in handy when you want to highlight the brand to your customer.
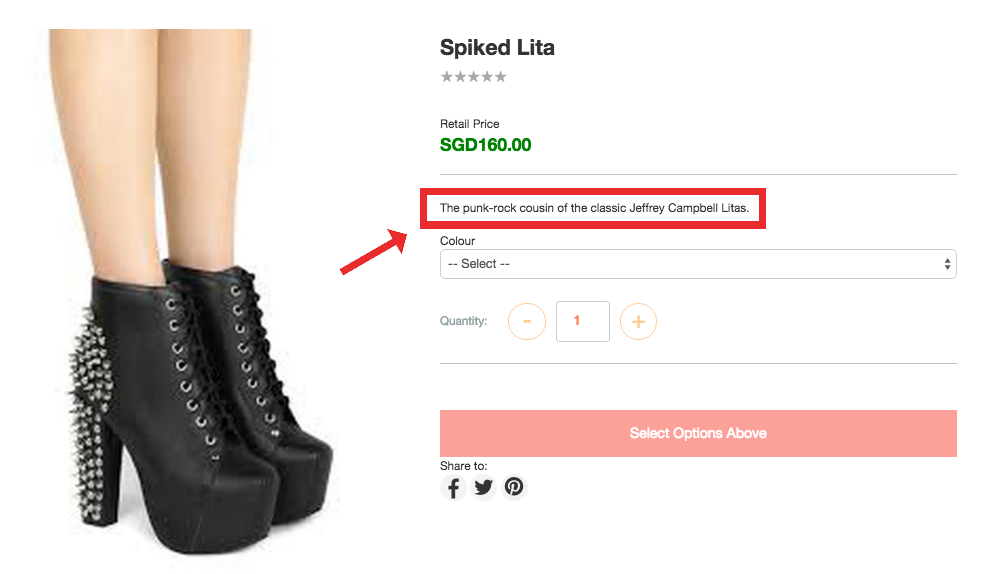
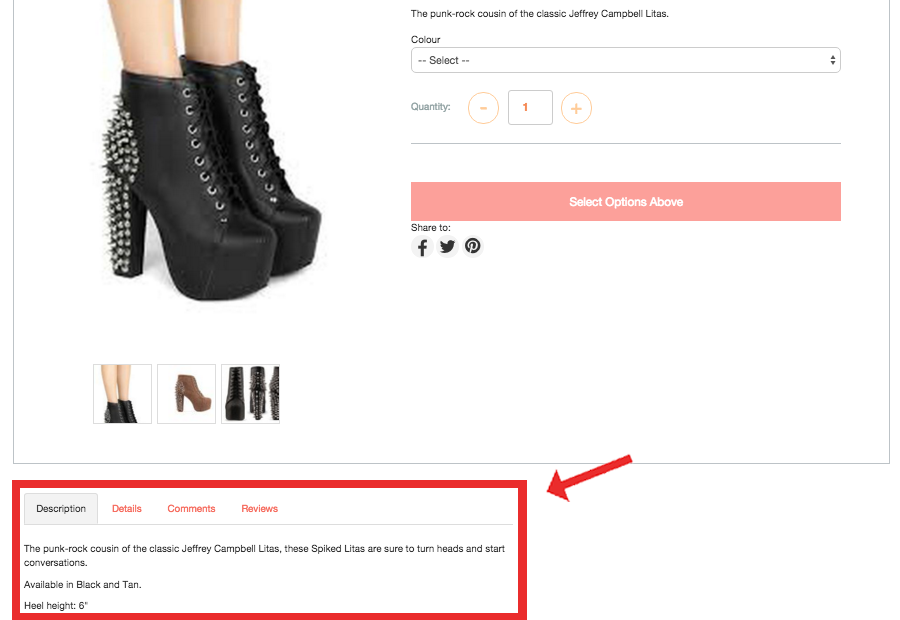
Product Excerpt is a short description of your product. It will appear on the right side of the page, when your customer clicks on the product. The excerpt cannot be more than 60 characters.
Product Description allows you to put in a more lengthy description of your product. It will appear below your product images, when your customer clicks on the product. There is no character limit for this section.
Once you are done editing these fields, click the green Save to continue button. You will then move on to Product Images. Click on the next tab to find out how it works.
Product Images
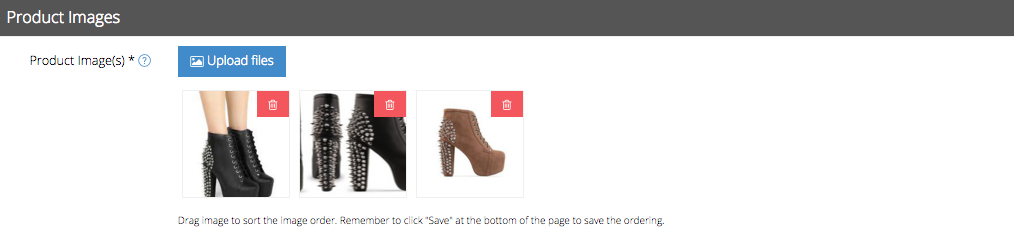
Here, you can add in pictures of your product. You can add multiple images to show different angles and colours. Click on the blue Upload files button to begin.

A pop-up will appear, prompting you to select a location from which to upload your files. You can either do so through your computer by clicking on the Choose Files button, or dragging and dropping your selected pictures into the highlighted field, as seen in the example below.
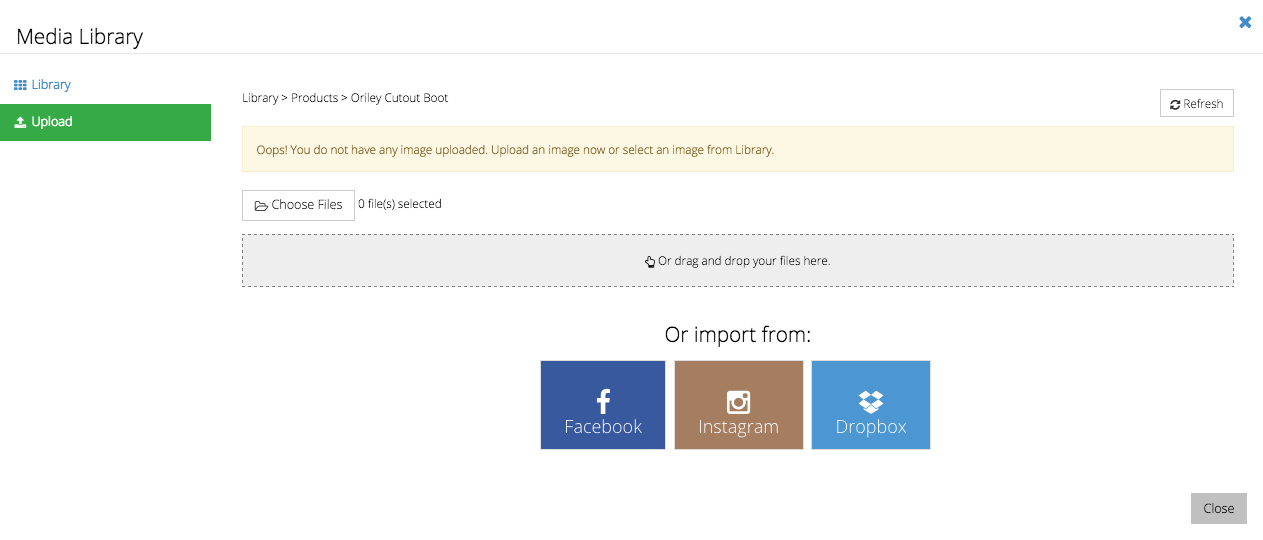 Alternatively, you can import your pictures from an external source.
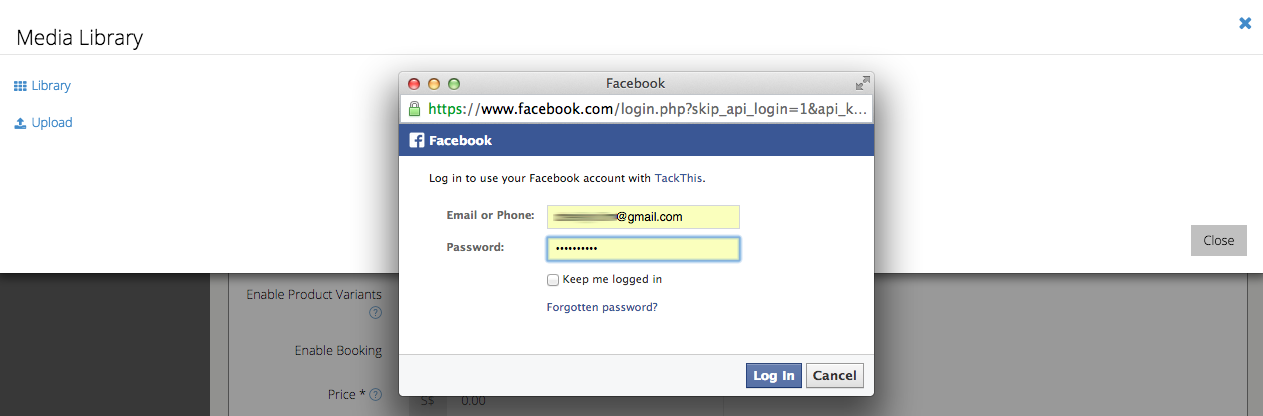
- To import from Facebook:
- Click on the dark blue Facebook icon.
- A pop-up will appear to prompt you to log in to your Facebook account with TackThis.
- Logging in will give TackThis access to the photos you wish to import. You can import your images from Facebook if you have a corporate Facebook account/page. You can also import images from your personal Facebook account, if you wish.
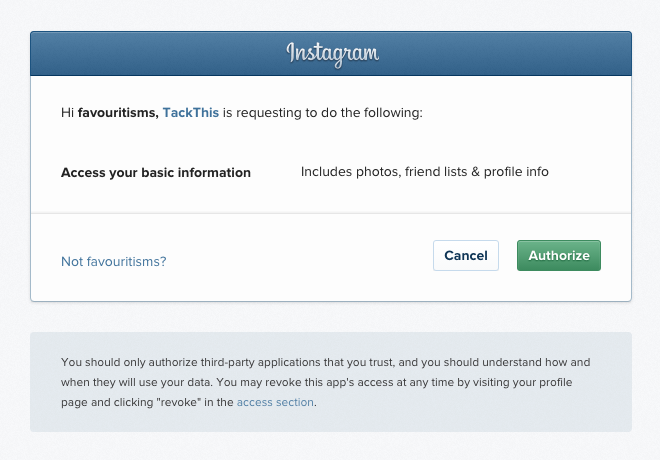
- To import from Instagram:
- Click on the brown Instagram icon.
- You will be redirected to an authorization page.
- Click on Authorize to allow TackThis to have access to your images. You can import photographs from Instagram if you have a corporate Instagram account. You may also use your own private Instagram account and upload images from there.
- To import from Dropbox:
- Click on the light blue Dropbox icon.
- A pop-up will appear, prompting you to choose your images from Dropbox.

Uploaded images will appear as small thumbnails. You can drag these thumbnails to rearrange the display order of your product images. You need to have at least three images to rearrange. To delete images, just click on the red Trash bin icon found at the top right corner of each thumbnail.
Product Attributes
You can edit Product Attributes of a new product or an existing product. To edit the attributes of a new product, ensure that you have already keyed in the essential product details under Basic Information and clicked Save to continue.
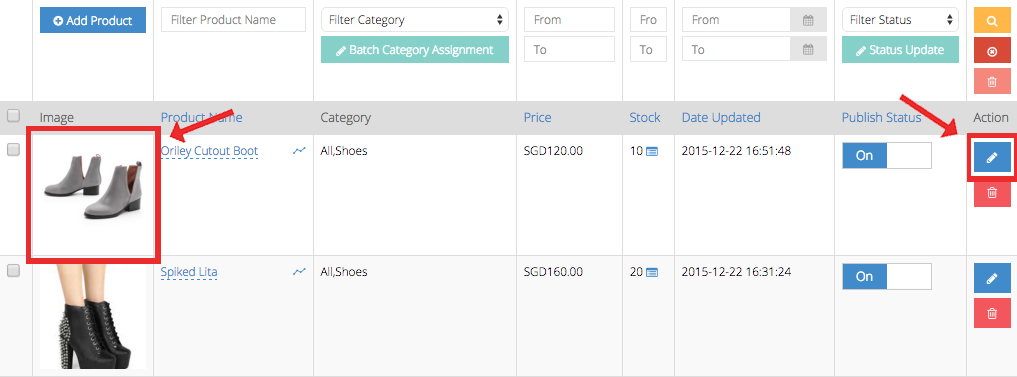
To edit the attributes of an existing product, click on the product’s thumbnail image or blue Edit icon found at the right side of the screen.
In this section, you can edit Product Variants. Product Variants are different varieties of a single product and they can vary by size, colour, material, etc.
Here’s an example that illustrates how to create Product Variants:
For instance, you have a product called Oriley Cutout Boots. These boots come in two colours, Grey and Black. It has five shoe sizes in 37, 38, 39, 40 and 41. As such, you will need to create two attributes for the boots: one Colour attribute, and one Size attribute.
Creating Attributes
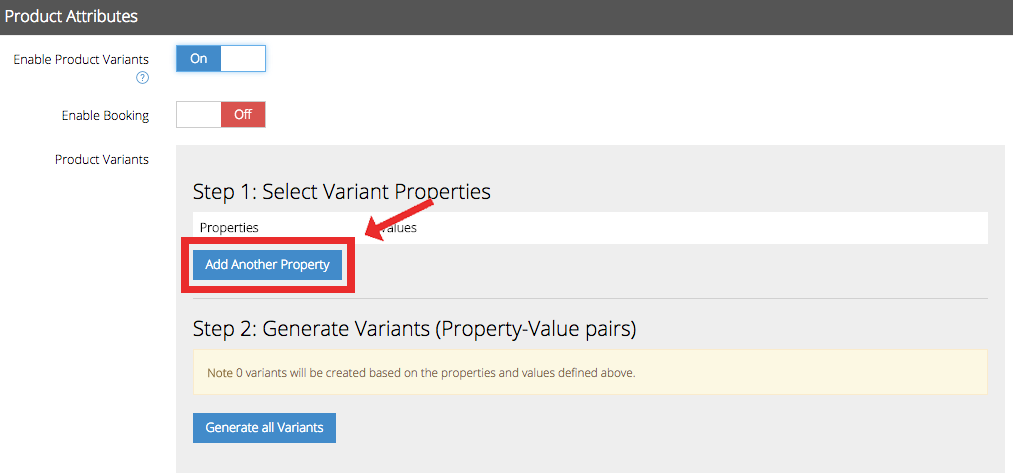
Make sure you Enable Product Variants. Since the product in this example is a physical product, there is no need to Enable Booking, as that function is applicable only to service-based products (such as air-con maintenance services).
When Product Variants is enabled, you’ll be able to see input fields in systematic steps. There are a total of four steps to guide you on creating your variants.
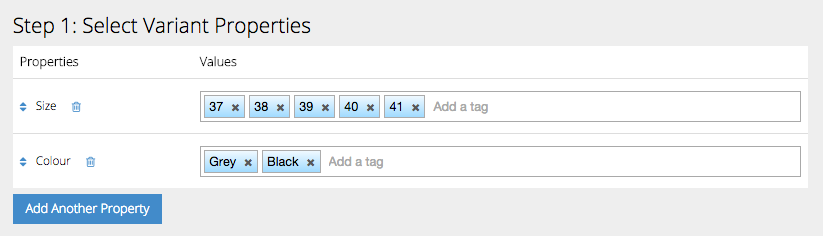
In Step 1, click on Add Another Property to begin.
A pop-up will appear and you will be prompted to select an attribute. To create the Colour attribute, just type in “Colour” in the blank field and click the blue Add button next to it. Once you have added that attribute, it will appear below as a property you can select. Click on the smaller Add button to add Colour as an attribute for your product. Do the same for the Size attribute.
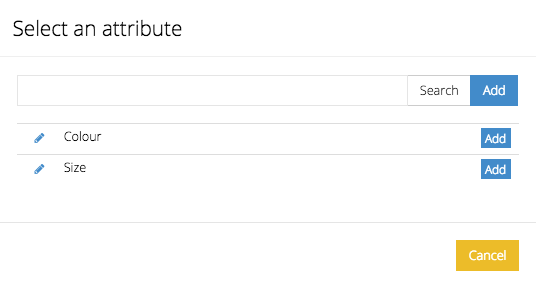 If you have previously added properties, you can search it by typing into the blank field and clicking the white Search button.
Once you’ve added in your product attributes, you can now include the Values. To add in the boots sizes, just type in each shoe size and end each value with a comma (,) to separate the values. Do the same for colours as well.
When your attributes have been created, move on to Step 2 to Generate Variants (Property-Value pairs). Click on the blue Generate all Variants button and let the system calculate the different possibilities of pairings for all Oriley Cutout Boots. With this example, you should have a total of 10 variants, of Grey boots in sizes 37, 38, 39, 40 and 41 and Black boots in sizes 37, 38, 39, 40 and 41.
While the system generates variants, the button will show Updating Variants… this might take quite a while. Variants are typically generated within a few minutes.

All generated variants will appear in Step 3, Finalize Variant Data. In this section, you get to edit the details of each variant.
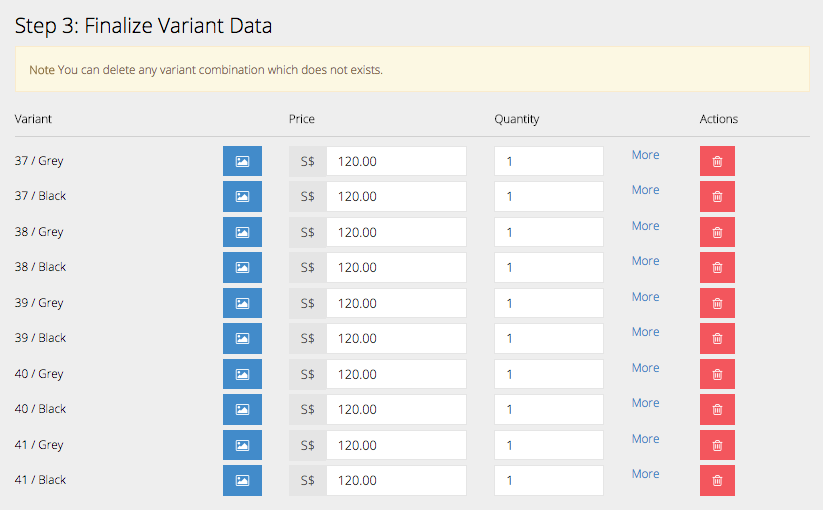
Add Images for each variant by clicking on the blue Picture icon. You can add pictures that have already been uploaded onto your TackThis store’s Library, or import them from other locations such as your computer, Facebook, Instagram or Dropbox.
Price allows you to enter the price you wish to set for each variant. In this example, all the Oriley Cutout Boots are set at $120.
Quantity lets you input the number of shoes you have in stock for each size and colour.
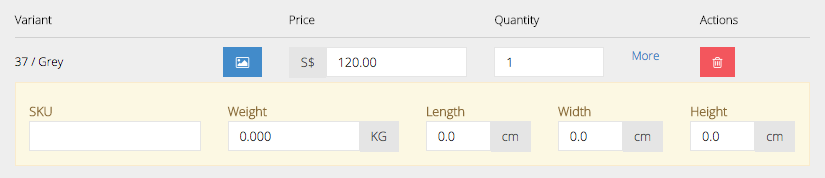
Clicking on More, will allow you to key in other details about each variant. You can include the variant’s unique SKU, or Stock Keeping Unit. For example, you can use SZ37-GRY to identify the Oriley size 37 grey coloured boots. You can also enter the shoe’s Weight in kilograms, Length in centimetres, Width in centimetres, and Height in centimetres.
Actions allows you to delete any particular variant by clicking on the red Trash bin icon.
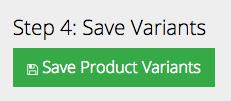
In Step 4, you can save all your keyed in data by clicking Save Product Variants.
 When you’re done with Steps 1 through 4, you can then move on to Product SEO Settings. Click on the next tab to learn more about it.
Product SEO Settings
Product SEO (Search Engine Optimised) Settings can help your customers find your product quickly through search engines. This means they don’t have to scroll through page after page to look for a particular product. The more proficient you are at using SEO settings, the better your chances of having your products displayed in the first few pages of search engines.
Here’s an example of how it works:
Let’s say your product is a pair of red waterproof boots from ABC Shoe Factory. You decide that you want to make this product more search-engine friendly and wish to add in SEO attributes for it. Under the Product SEO Settings segment (found on the Add New Product or Edit Product page), click on the blue Add new SEO attribute button.

You will then have to fill in the new fields accordingly.

Meta Type refers to key categoric words such as “dresses” or “shirts” to describe your product. In this example you can use the word “shoes”.
Content allows you to add in more detail about the Meta Type. You are limited to 255 characters for this field. So, you can describe your shoes as “Limited edition Gilly Red Waterproof boots from ABC Shoe Factory’s Autumn/Winter 2015 Collection”.
When you check Include in header meta, you’re letting your Meta Type and Content appear in the title head of your searches.
If you wish to remove an SEO attribute, click on the red Delete button.
Publish Settings
Publish Settings allows you to determine the whether a particular product will appear on your store, and the duration of the product’s availability.
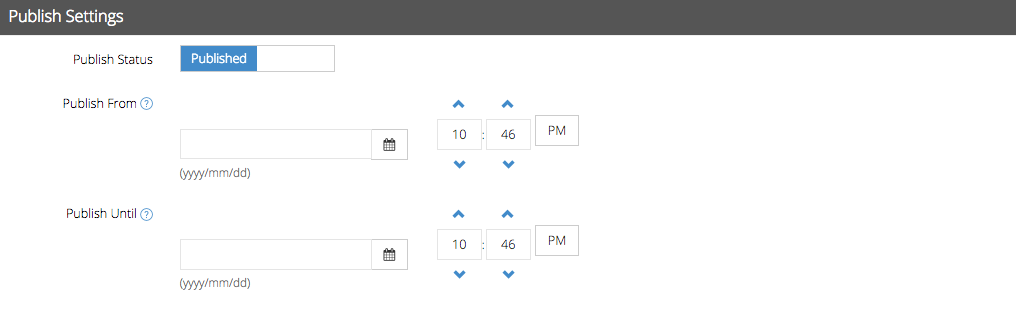 Publish Status allows you to determine whether a product will appear on your shopfront. You can choose between Published and Unpublished statuses.
Publish From allows you to set a date and time for when a particular product will appear in your shopfront. This setting is useful for products that are available for a limited time period only.
Publish Until allows you to set a date and time for when a particular product will no longer appear in your shopfront. This setting is useful for products that are available for a limited time period only.