Organizing Product Images
Organizing product images
Under the Library tab, you will see a Products folder along with all the images you have already uploaded. Now, you can start assigning selected images to your specific products.
- Under Library, select the image(s) that you want to show for a certain product. These image(s) will be reflected on the bottom right once selected. If you have many images in your Library, you can click on Next to view and select more images.
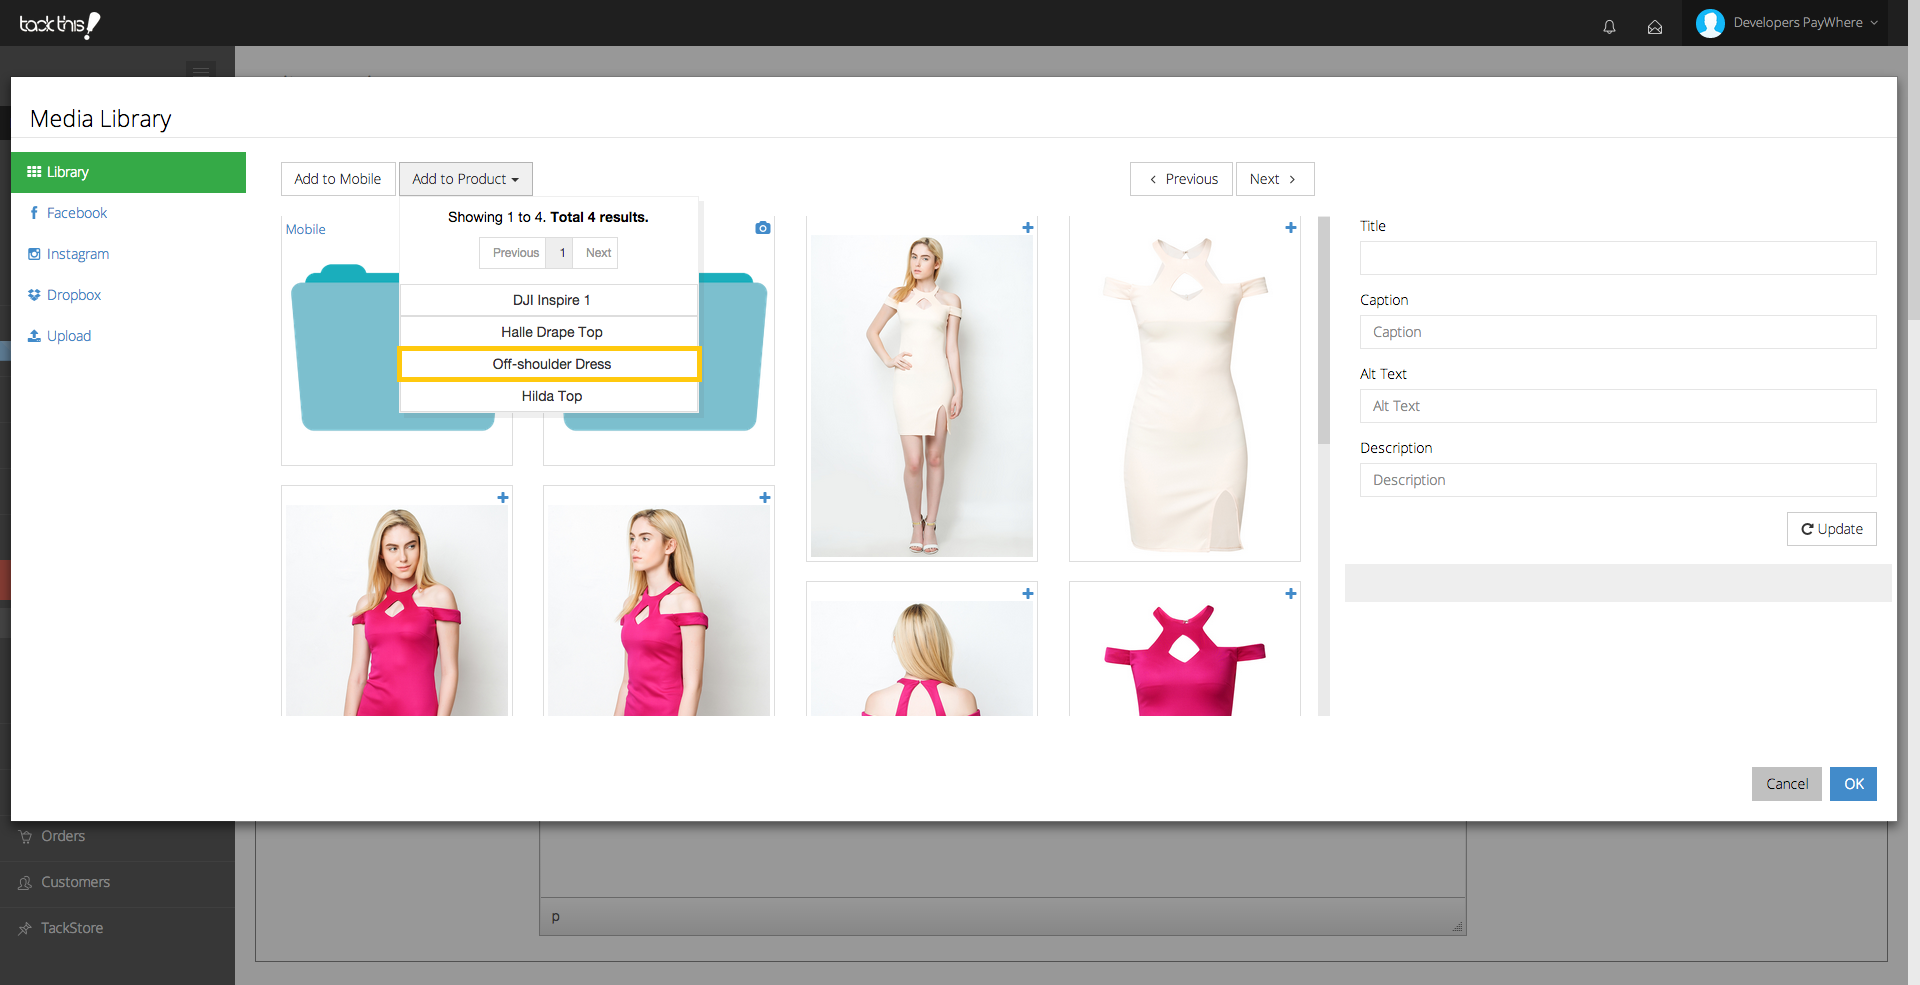
- Click Add to Product and select the Product File which you want the image(s) to be uploaded into. Using our example, we are uploading three product images for “Off-shoulder Dress”.
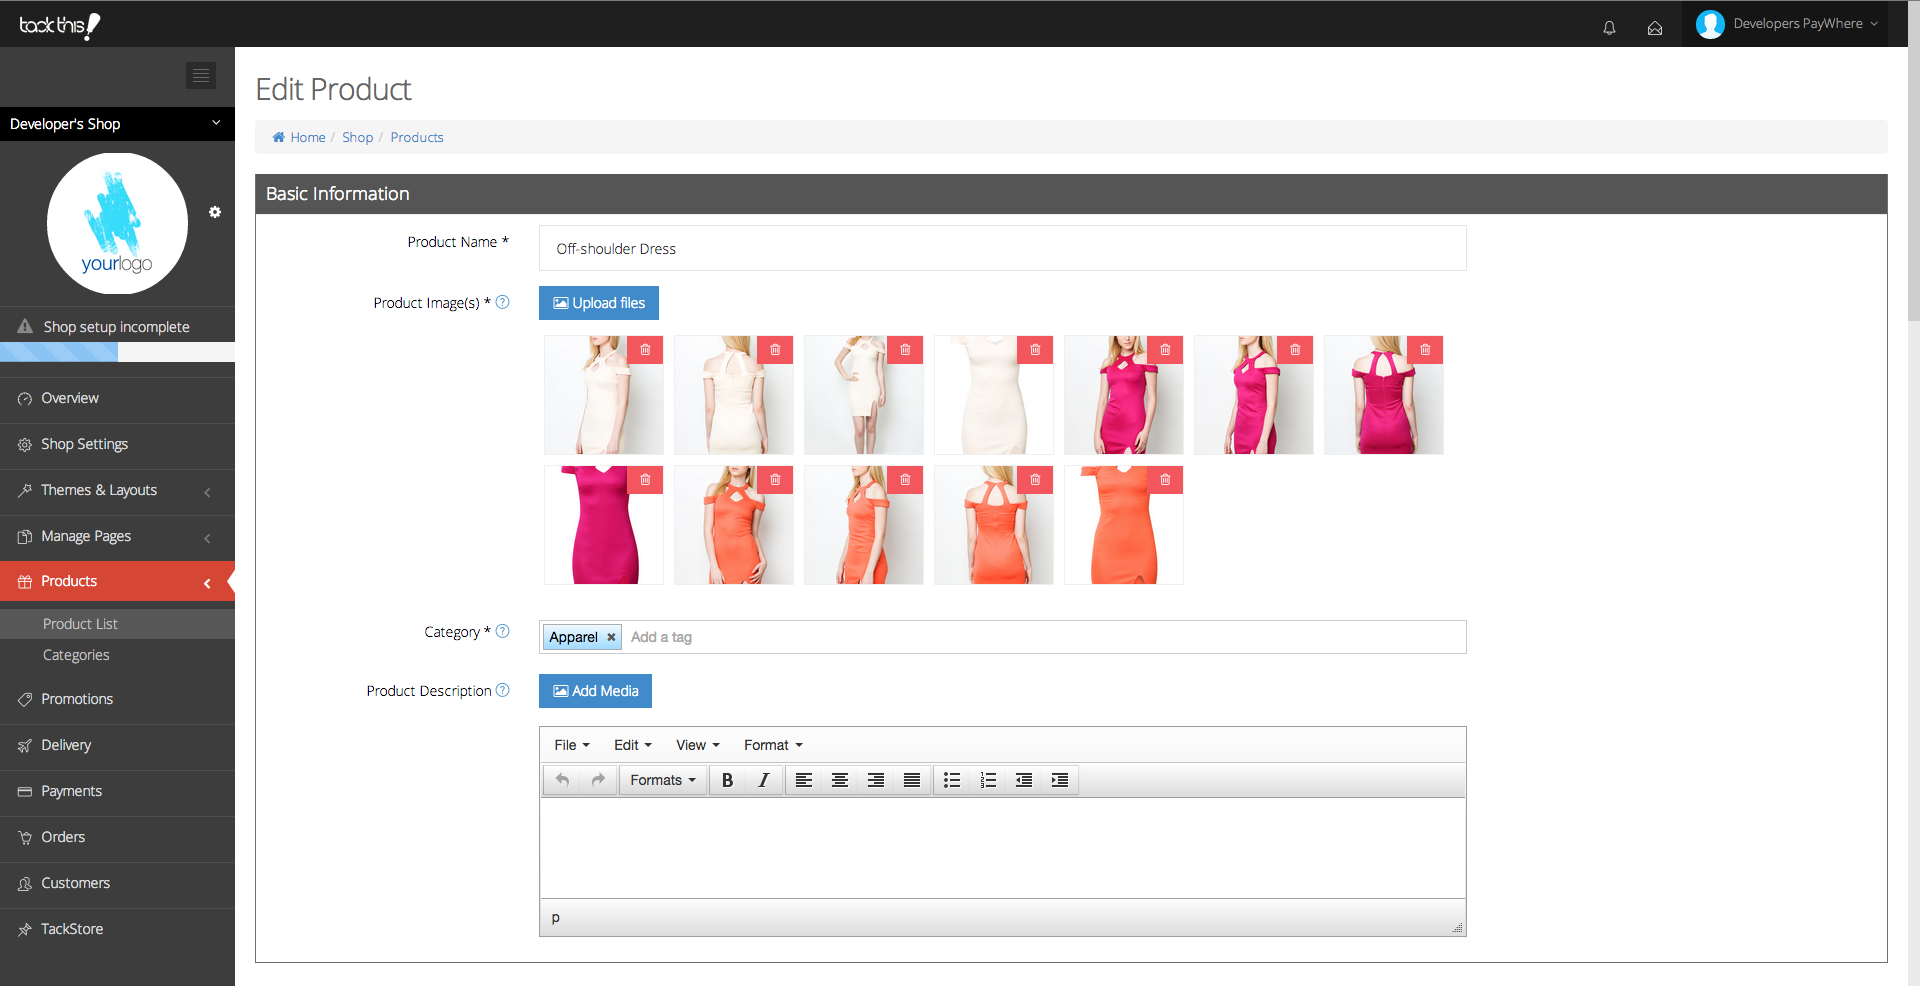
- Click Ok and your images will be successfully assigned to your specific product. An example of a final view of your product images is shown below.